Recently I was asked to create a wedding gown for a beach wedding. The bride wanted a short strapless gown with built in boning. This was my first time ever working with boning, so I decided to create a tutorial as I learned.
1. After sewing the seams of the bodice, I pressed them open.
2. I then measured and cut the boning to the length of the seam, being sure to take off the appropriate amounts for the seam allowance.

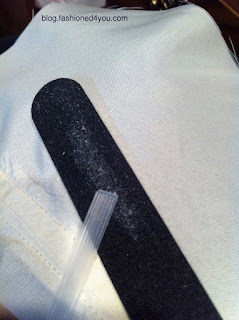
3. Once that was complete, I removed the boning from the fabric casing and sewed the casing directly over the seam. I closed 1 end, leaving the other open to reinsert the boning. (The boning can be soaked in hot water and molded as desired, or heating the boning with an iron will also allow for reshaping.)

5. Insert the reshaped boning back into the casing and sew the open end of the casing closed.
Repeat these steps for all seams on the bodice and once complete, you have a perfectly boned bodice!
Linked to: Sugar And Dots, Ginger Snap Crafts


Great tutorial...you make it seem so simple!
ReplyDeleteThanks for this tutorial on the perfect bodice! We loved having you join us for our "Strut Your Stuff Saturday." Please come back again soon. -The Sisters
ReplyDeleteGreat job!! TFS!! Stopping by from What Allie's Making linky party.
ReplyDeleteHere is what I shared: http://craftybrooklynarmywife.blogspot.ca/2012/04/another-coat-for-holly.html