Showing posts with label tutorial. Show all posts

Thursday, June 28, 2012

Fabric Wall Hanging Tutorial

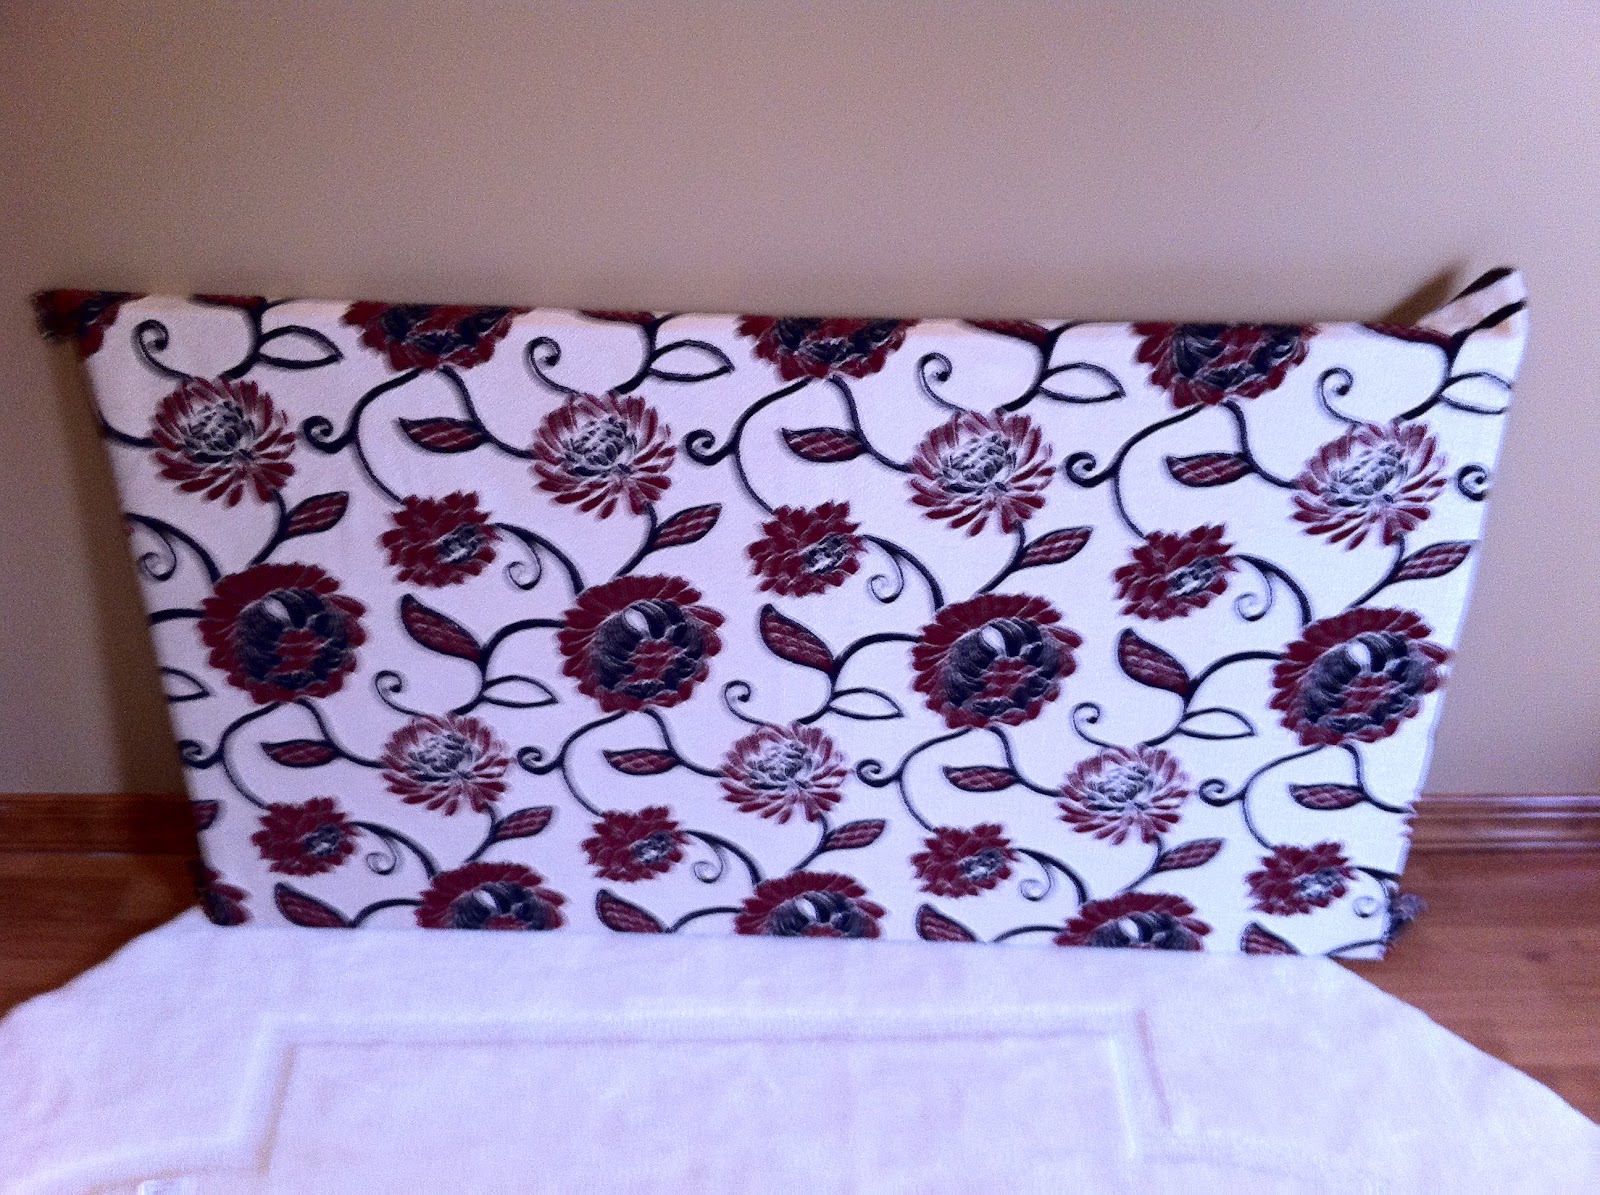
I found the perfect piece of fabric to decorate my wall with at JoAnn Fabrics on the clearance rack.  I wanted to redo my nook with splashes of deep red.  So, I decided to make my own art.  This is how I did it....


Find that perfect piece of fabric...


Decide how big you want your frame to be.  I purchased 8 ft pieces of 1 x 0.5 wood (2.50 each) at Lowes.  I measured and cut to size.  


Next I screwed the pieces together to create....


the frame....


Next I stapled the fabric to the back of the frame.  Starting at 1 side and then the opposite side, pulling the fabric tightly as I went.  


Then I proceeded to to staple the other ends.


Next I folded over the corners and stapled them into place.


And there you have it!  Art, the perfect size...perfect colors...made by you!  For a fraction of the cost!


Monday, May 28, 2012

Bridal or Corset Loop Tutorial

I recently made a wedding dress for a beach wedding.  The bride fell in love with a dress out of a magazine, but it did not come in white.  So, working together we came up with our own design.  After I had it all just about completed, the bride decided that she wanted to have splashes of fuchsia on her dress. We decided to go with a corset back with fuchsia laces.  I got to work creating the loops.  
This is how I did it:


I pinned a piece of ribbon that matched the dress perfectly to a piece of scrap paper.  I figured out how big I wanted the loops to be and measured the distance onto the paper.  I then marked my paper every 1 inch so I could space the loops out evenly.

 Next I sewed the loops and the ribbon directly onto the paper.  The top of my loop lined up with the edge of the paper (as per my previous measurements).  I back stitched over each loop to give it more strength.  

I went down the entire length of the paper and this is what it looked like upon completion.

Next I peeled the now looped ribbon off the paper and discarded the paper.  

Then, I pinned the looped ribbon on the inside of the bodice back and sewed into place.


I repeated the same procedure on the other side...threaded the fuchsia ribbon through.  I was very pleased with the results!  I can't wait for the next fitting!!


Thursday, May 24, 2012

Creating a Cute Purse from a Hem Tutorial

After cutting 3 inches off a cute little dress for a cute little 3 year old....I decided to fashion her a coordinating bag out of the excess fabric.  This is how I did it...

I cut the excess fabric into four 15 inch x 3 inch strips


I sewed the strips together to make a square that was approximately 12 x 15.  


I then cut it into a 12 inch circle and sewed two 1/2 inch button holes one on opposites of the circle an inch from the edge.  As well, I cut a 12-inch circle out of a coordinating piece of fabric and sewed them with right sides together...

I left a 1.5 cm opening thru which to turn the bag.  

After turning the bag, I sewed 1/4 inch from the edge of the bag.

And then sewed around it again, 1/2 inch from the first seam.  I slip stitched the turning hole closed.

Then, I ran 2 separate cording systems...starting and ending in the same button hole.  I cut the cords and there you have it...a coordinating bag for the dress you just hemmed.  :)


Wednesday, May 2, 2012

From Old Wool Sweater to Fashionable Bag Tutorial

Earlier this week I blogged about the steps taken to felt a wool sweater.  You can find that tutorial here.  I am now going to show you one of my favorite projects to use your felted wool sweater for.  We are going to make a bag or a purse from our sweater.  The great thing about these bags is they have a lot of "give" and tend to grow as you pile more and more inside.

Step #1:  Felt the wool (instructions here).  Felting the wool fuses the fibers together allowing it to be cut without fraying.

Step #2:  Cut the neck band and the sleeves off, as shown below.

Step #3:  Take one of the sleeves (removed in step 2) and cut it open at the seam line, cut off the cuff.

Step #4:  Place your opened sleeve below the bottom of the sweater and cut it to be approximately the same length.

The sweater will actually get folded side seam to side seam and the bottom will be added.

Step #5:  For this particular bag, I chose to add a pocket which I created out of the cuff and bottom of the sleeve.  I pinned this into place and top stitched.

Step #6:  With right sides together, pin the opened sleeve to the bottom of the sweater and stitch.  Repeat on the opposite side.

Step #7:  Finish by closing the ends.  This particular sweater was very thick...so I ended up having to hand stitch this one, as there is quite a lot of easing that must be done, which gives it a gathered look and more room to grow!

The finished product!  Perfect fit for my iPhone.


This is a bag I had constructed a few weeks ago with rosette detailing made from the scraps of the sweater.

My daughter's sweater bag with rosette detailing.

The bag used to make this tutorial is available for sale for a price of $25, as well as the green bag with rosettes.  I have several more in the works, if you are looking for a particular color just ask.  If you'd like me to repurpose a special sweater of your own, I'd be happy to work that out with you.  

Hope you enjoy!  If you have any questions, please don't hesitate to ask!

Tuesday, April 24, 2012

Adding Bodice Support with Boning


Recently I was asked to create a wedding gown for a beach wedding.  The bride wanted a short strapless gown with built in boning.  This was my first time ever working with boning, so I decided to create a tutorial as I learned.


1.  After sewing the seams of the bodice, I pressed them open.


2.  I then measured and cut the boning to the length of the seam, being sure to take off the appropriate amounts for the seam allowance.


3.  Once that was complete, I removed the boning from the fabric casing and sewed the casing directly over the seam.  I closed 1 end, leaving the other open to reinsert the boning.  (The boning can be soaked in hot water and molded as desired, or heating the boning with an iron will also allow for reshaping.)


4.  Using a nail file, smooth the edges of the plastic boning.  Otherwise it will poke and cause discomfort.  This will also ensure the sharp edges will not cut thru the fabric.


5.  Insert the reshaped boning back into the casing and sew the open end of the casing closed.


Repeat these steps for all seams on the bodice and once complete, you have a perfectly boned bodice!


Linked to:  Sugar And Dots, Ginger Snap Crafts